So, finally, you have decided to join LinkedIn. Congratulations! This is one decision you will not regret. When it comes to generating leads, LinkedIn is every bit as good as the other two popular social networking giants—Facebook and Twitter.
If you play your cards well, you can also derive a lot of benefit from your LinkedIn account. However, for this to happen, you will first need to write an impressive profile, which is exactly what we will be talking about here.
What’s in a profile?
Your LinkedIn profile is the face of your business on the social network site. If the face of a business setup is not impressive, not many people would like to be associated with it, would they? So, without wasting any more time, let us get on with the task at hand.
Step-by-step instructions for setting up LinkedIn profile
Step 1 – Feed in your personal details
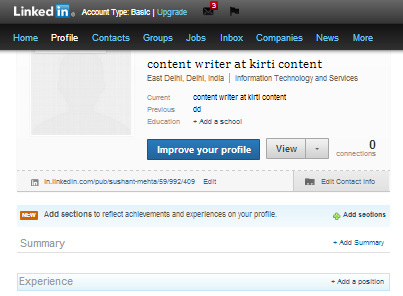
After you have created your account, click the Edit Profile tab under the Profile category.
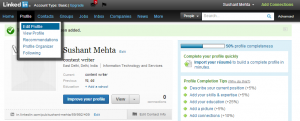
Click Edit Profile
Feed in your personal details, a professional “Headline”, industry type, and address. While filling your personal information, give special attention to the professional Headline, as it conveys what you do or what kind of services you offer. Professional “Headlines” are crawled by search engines, so ensure that you sprinkle a few keywords related to your job or services in it.
Once you have updated the necessary details, click the Save Changes button.
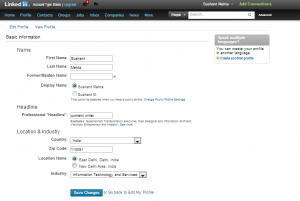
Enter Personal Details
Feed in your current position, previous positions, and education.
Enter Your Current/Previous Position And Education Details
Step 2 – Write your profile summary
A profile summary is the crux of your profile. So, choose the words carefully. Do not make the mistake of writing it in the same way you would write a resume. To feed in your profile summary, click the Add Summary button next to Summary.
Feed In Your Profile Summary
The profile summary should not focus on what you have done, but what you enjoy doing the most. After all, the summary is about you, the person. Additionally, do not forget to run a spell check after you are through to ensure that there are no spelling errors. Finally, click the Save Changes button after you are through.
Step 3 – Work Experience
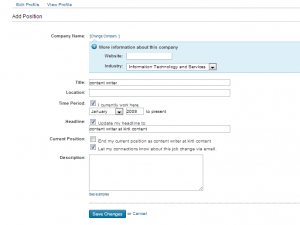
Work experience must always be listed in the reverse chronological order—that is, start with your current job, listing the previous job next, and so forth.
If you have the relevant experience, do mention at least 3 positions. If your present employer is your first, mention your previous two roles or designations as two different job positions. To add a position, click the Add a position button next to Experience.
Enter Work Experience Details in Reverse Chronological Order
Each job position description should be around 150 to 200 words. Besides showcasing your professional achievements in each of the job you have held so far, say a few words about your designation and job description.
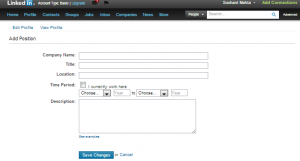
Add information about your designation and job description
Step 4– Feed in the rest of the details
Next, fill in the information related to your education, additional information, personal information, and skills & expertise separately. Click the button next to each of these fields to fill the necessary information. For instance, to feed in the details related to your education, click the Add a school button.
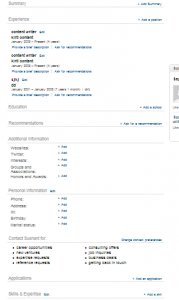
Enter Additional Information
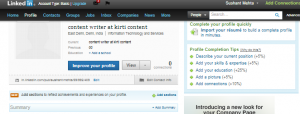
Step 5 – Check if your profile is 100% complete
Next, check if your profile is 100% complete. If you are wondering why this is necessary, read this: 100% complete LinkedIn profile are 40 times more likely to be searched than profiles that are less than 100% complete.
For a 100% complete profile, you must:
- Write a profile summary
- Upload a profile photo
- Write about your skills
- Write about work experience—minimum 3 job positions
- Write about your Education
- Have a minimum of 50 connections


